If you've ever wanted to create wood carved caricatures, you've come to the right place. This page will explain the techniques and safety involved in creating wood-carved caricatures. You can make a simple caricature into an artful masterpiece. These tips will help you create a unique caricature. A class with a caricaturist is also an option.
Techniques
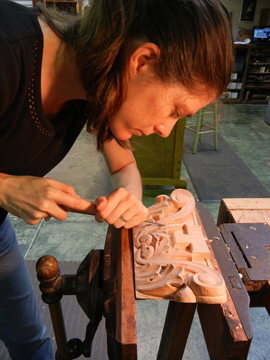
Wood carving caricatures is a rare form of sculpture. They're funny and can tell a tale without words. Caricature is an exaggerated representation of a real person. Dave Stetson, a wood carver, follows a strict code to be realistic and has some rules that can be used to create a good caricature. This article will explain the basics of caricature creation and offer tips on how to create one.
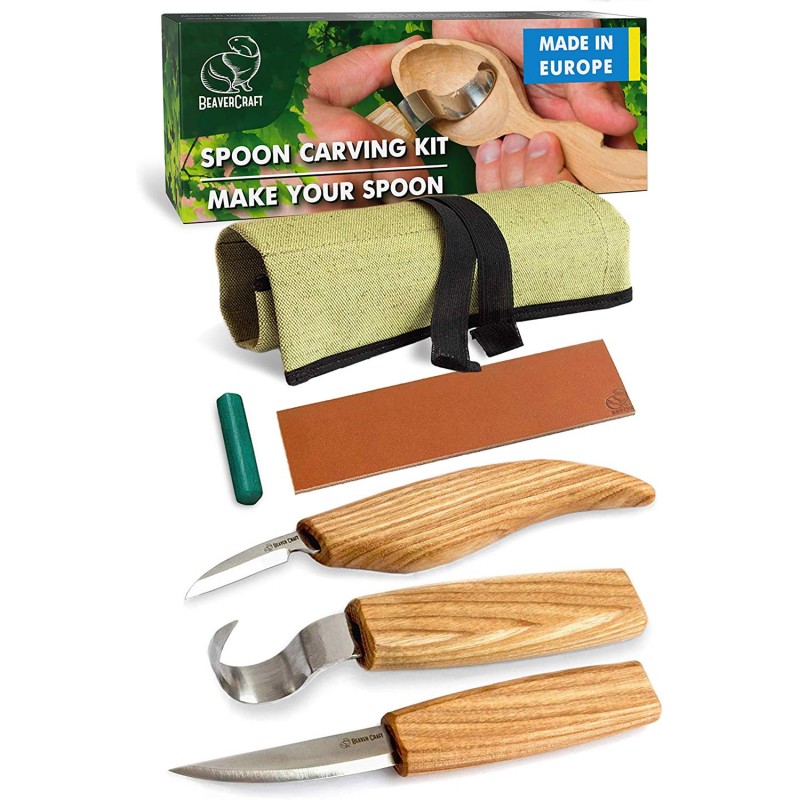
First, it takes a lot of focus to carve an astronaut. You will need to use either a spoon carving knife or whittling knife to carve an astronaut. Both are delicate tools. While you're carving the astronaut, you can also use templates to make it easier to work with. A tutorial will give you step-by-step instructions for how to complete your caricature. A tutorial on this subject might be worth your consideration if you are tight on budget.
Designs
There are many methods to make wood-carved caricatures. You can start by using a pattern. A cardboard cutout can be purchased and used to carve different types of caricatures. The steps for a caricature-carving tutorial can also be used. This article will provide information on the best methods and designs to carve a caricature.
Fred created the first caricature he ever made, called "Aristocrats of the Roads". It depicted two men who wandered. It was carved out of Honduras Mahogany. Fred entered it in competitions, winning several awards. He also featured the Chipping Away Catalog. Fred carved another Luciano Pavarotti caricature, which earned him a Second Place Winner Award at the national woodcarving convention.
Eyes
Carving caricatures requires that the eyes be realistic. A realistic-looking eye is fine, but a poorly executed caricature can leave viewers dissatisfied. You can take a photo of an existing carving and follow the steps to make sure your eyes match.
Next, determine the shape of your eyes before carving them. Some carvers use the exact same eye shape, while others may use a different one. Some carvers use different shapes to make more convincing eyes. Stop cuts are a way to create symmetrical eyes. You will need to cut the pupil and the inner iris. Once these details are completed, you're ready to move on to the next step in carving the caricature.
Safety
Unique wood carving caricatures have unique designs. They are capable of telling a story without using words. Their creators take great care to ensure that their work is accurate. Caricatures are depictions of people and objects that are exaggerated to communicate an impression, or humor. Wood carving carver Dave Stetson has established strict rules for carver safety and quality, as well as providing information for consumers.
Before you begin carving a caricature of a person, make sure to clean the surface and get rid of any pencil marks. Use dish soap or water to clean the surface. To carve the neck and head, use a V-shaped 60 degree tool. A 60-degree V-shaped tool can be helpful in the carving process, as it cuts wood very easily. The Ramelson 60 degree V-shaped carver tool is a good choice. It is both sharp and simple to use.
Materials
If you are looking for a fun and challenging way to carve animals, you can learn how to create caricatures of animals with materials like wood and wire. Although animal caricatures are not as detailed as human caricatures they can still be fun and tell a story without using words. Caricatures have a heightened sense of reality. Carving caricatures can seem like a hard hobby, but it is possible for experienced carvers to use a variety of materials.
To complete your carving, you'll need chisels or a woodboard. A hammer is also necessary. Acrylic white paint, which can be purchased at a craft store, is the first layer. Once the base layer is complete, you can begin the second layer. This layer will include a golden brown color and a few drops (Academy) of burnt-sienna. To make the face, add 2 drops to 1 oz. of sunkissed pears.
FAQ
Is it easy to start a woodworking business?
It can be difficult to start your woodworking business. There are many regulations and legal requirements that you will need to comply with. But, this doesn't mean you need to go through all of the trouble of setting up your business. Many people prefer to join existing companies. This allows you to join existing businesses and pay only membership fees.
How much money will I need to get started?
Each project is unique so there aren’t exact numbers. These factors will help you get an estimate of how much money is needed.
-
Cost of materials
-
Tools and equipment
-
Time spent working on this project
-
Your hourly rate
-
How much profit do you expect to earn
-
Whether you plan to hire help
For those just beginning, it may be a good idea to start small with simple items like boxes and picture frames. You will gain more experience and be able to tackle larger projects.
How do I know what tools are best suited for me?
It's important that you consider your needs and preferences while shopping for tools. Do you prefer metal or plastic handles What size of nails and screws do your hands use most? Would you rather use hand tools than power tools?
You can learn how to woodwork.
It is best to do it yourself. Woodworking requires patience, practice and skill. Mastering any craft takes time.
To actually learn something is the best way. Start small and learn from your mistakes.
How can I keep my shop organised?
The first step toward keeping your workshop clean and organized is to set aside a designated area for storing tools. To keep your tools sharp and ready for work, keep them clean of dust and debris. Pegboard hooks can be used to hang tools and accessories.
Statistics
- The U.S. Bureau of Labor Statistics (BLS) estimates that the number of jobs for woodworkers will decline by 4% between 2019 and 2029. (indeed.com)
- In 2014, there were just over 237,000 jobs for all woodworkers, with other wood product manufacturing employing 23 percent; wood kitchen cabinets and countertop manufacturing employing 21 percent. (theartcareerproject.com)
- Average lumber prices rose about 600 percent between April 2020 and May 2021. (familyhandyman.com)
- Most woodworkers agree that lumber moisture needs to be under 10% for building furniture. (woodandshop.com)
External Links
How To
How to drive a nails in wood
It is essential to pick the right size and style of hammer before you can drive a nail in wood. There are many types of hammers that you will find: claw hammers and sledgehammers; mallets; ball peen hammers; and hatchets. Each type of hammer has its pros and cons. A claw hammer is best for hitting nails or hard objects. However, it can be difficult to pinpoint exactly where the blow will land. A sledgehammer is great for hitting large areas at once, but it's too heavy to use effectively for smaller tasks.
Place your hand flat on the side of your chosen hammer so that the handle rests in your palm. You can grip the handle with your fingers, but not so tight that it causes injury. Hold the hammer straight up, keeping your wrist relaxed. Now, move the hammer towards the center of the nail by swinging it back. The impact of the hammer hitting the nail should be felt. Try practicing with a block to help you master the art of swinging a stick.
You can now drive the nail by holding the hammer to your body. You will need to position the nail so it is parallel to the wood. Keep your eyes on the tip. Swing the hammer forward, and then move the hammerhead. You can repeat this several times, increasing your swing speed. Once you have mastered this technique, increase the power of your swings. Try holding the hammer above your shoulder and bring it down forcefully. You will be able to use more energy and put your best foot forward.
Once you have made the first hole, remove your hammer. The rest of the nails can be pulled out using a screwdriver, pry bar, or a hammer. To prevent splitting the wood, ensure you keep the nail heads flush against the board's surface.