You can learn many tips to help you get started with wood turning. These tips will help you to stay safe while turning. These rules will help you avoid common injuries while woodturning. Don't get injured while wood turning. In addition, you should always wear the proper attire when turning. You can find safety tips for wood turning online if you aren't sure how to protect your self.
Safety
Safety when woodturning is important, as with all hobbies. Woodturning is safe in most cases, but it does come with risks. Safety equipment and common sense can help minimize these risks. Avoid wearing loose clothing or jewelry, and avoid being distracted while working with rotating equipment. This article will discuss some of the most important safety tips for woodturners. Let's have a closer look.
Another important factor to consider is the proper positioning of your workpiece on the lathe. Position your workpiece 15 inches from the toolrest when using the lathe. Keep in mind, however, that wood dust can cause slippage if the toolrest gets too close to your workpiece. A loosening may also be indicated by a loosening in the live center.
Tools
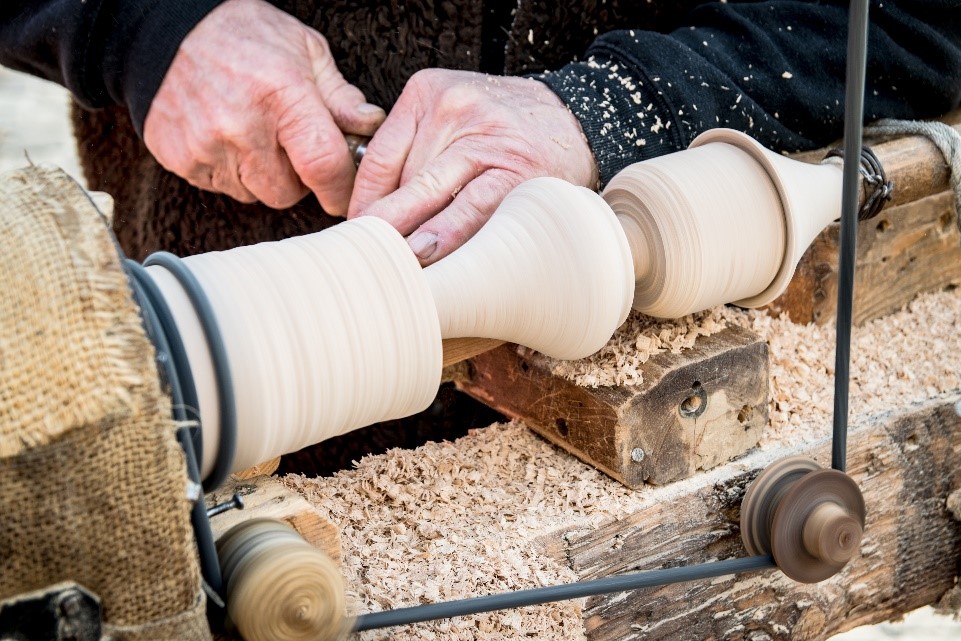
A wood turning lathe can be used to turn wooden objects. It uses two banjos. Each banjo performs a different function, which is vital for the smooth operation of the lathe. This article will cover each type and explain how they can be used for wood turning. Let's take a look at how the tools are used for wood turning. This article will also discuss the importance safety equipment for woodturners. To ensure your safety while working, it is crucial to use safety equipment.
Steel-toed shoes are best to protect your skin. Eye and ear protection is essential when you are working with large objects. Keep the rotation speed slow and wear eye and ear protection. No matter what type of woodturning tool, protect your eyes from harmful fumes. For any activity in the shop, it is a good idea for a pair leather steel-toe boot. Woodturning tools are also useful when preparing a blank for turning.
Projects
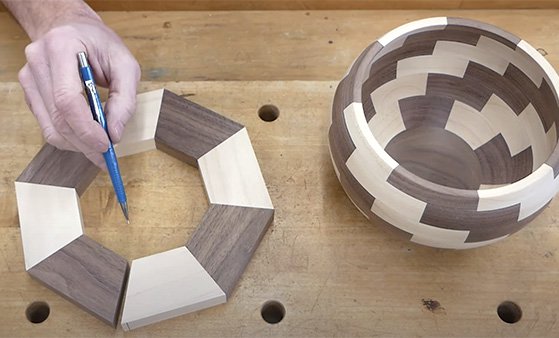
Perhaps you're curious what kind of woodturning projects you could do. It is important to know what materials are available. The Spruce explains that there are many kinds of hardwoods available. You can also get wood from local tree surgeons or sawmills. Here are some beginner projects. This project requires you to make a bowl out of unseasoned wood from local sources. Although it will take time, the end result will be well worth it.
Woodturning is a craft you need patience with, no matter your skill level. Woodturning projects don't require any experience or skill. However, you can make adjustments to suit your preferences and needs. This hobby is also a great way to relieve stress and improve mental clarity. There are numerous resources online that can help you get started. You can find step-by-step tutorials to get you started.
Attire
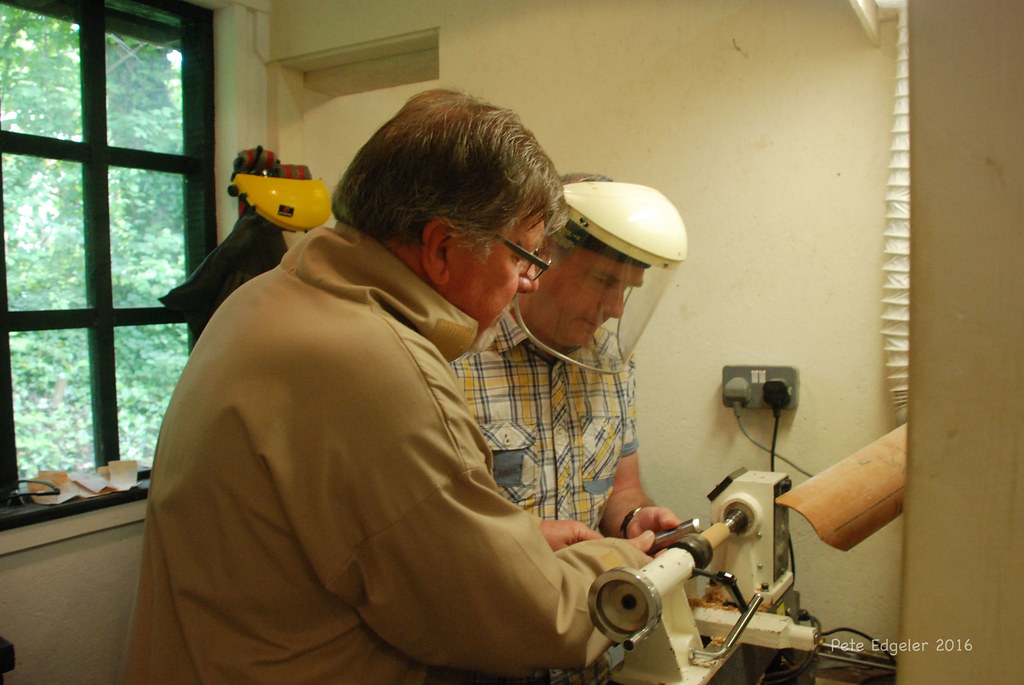
The appropriate attire for wood turning will vary depending on the type of project you are working on. While safety goggles are appropriate for most tasks, full-face visors will give you better protection from flying objects. Safety goggles with steel feet are best if you plan to use a grinder. It is recommended to use ear and eye protection. Also, you should wear leather-steel-toe boots.
A comfortable cotton shirt and a comfortable cap are the best attire for woodturning. You should not wear loose clothing if you plan to work on a piece or wood for a long time. You should remove all jewelry and tie your hair to prevent it from catching on. Paper towels are a good idea to use to remove wood shavings from your clothes.
Dust masks
There are many types of dust masks available for wood turning. These masks can be fitted with filters or cartridges to help reduce moisture and heat. You can also get some of these in pads that are placed over your nose or mouth. Some dust masks have elastic or rubber straps that fit over your nose and mouth. They protect you from dust, fumes and other harmful substances. In the event that you are unable to wear a mask, you should consider using a mask that is powered.
Other types of wood turners wear masks that have a high degree of filtration. One of these is the 3M 8210 particulate respirator. It filters out 95% the particulate matter present in the air. The unit comes in a pack of 20. These dust masks are not cheap, but they can protect your lungs and prevent breathing problems. You can buy a 20-piece box of the 3M 8210.
Respirator
You can protect your lungs and face from harmful particles by wearing a respirator while working on your lathe. A powered face shield respirator can be a great choice for woodworking. For noisy, dusty operations, powered face shields can be a great choice. Woodturning creates considerable dust and shavings, which can fly directly at you. Safety glasses that are standard won't protect you from flying debris or dust will not work. This debris can cause severe damage if it is accidentally dropped by the chuck.
FAQ
What is the average time it takes to finish furniture?
It depends on the type and complexity of your design as well as the amount of finishing that you use. Hardwoods, for example, require more maintenance than softwoods. Hardwoods can also be more costly than softwoods. But they last longer and resist moisture better. The average time it takes to finish furniture is one week to three weeks.
What is the difference in a hobbyist and professional woodworker?
Hobbyists like making things with wood. Professionals focus more on quality. Hobbyists often take pride in the creations they make and often share them to family and friends. Professionals spend hours researching design ideas before starting to work on a project. They will meticulously plan every detail of their work from choosing the right materials to finishing it.
Can I succeed in woodworking if I'm a genius?
No. Woodworking does not require any special skills. It is possible to learn basic tools and techniques that will allow you to create beautiful art.
Statistics
- Woodworkers on the lower end of that spectrum, the bottom 10% to be exact, make roughly $24,000 a year, while the top 10% makes $108,000. (zippia.com)
- In 2014, there were just over 237,000 jobs for all woodworkers, with other wood product manufacturing employing 23 percent; wood kitchen cabinets and countertop manufacturing employing 21 percent. (theartcareerproject.com)
- Overall employment of woodworkers is projected to grow 8 percent from 2020 to 2030, about as fast as the average for all occupations. (bls.gov)
- Most woodworkers agree that lumber moisture needs to be under 10% for building furniture. (woodandshop.com)
External Links
How To
Tips on how to drive a nail in wood
It is essential to pick the right size and style of hammer before you can drive a nail in wood. The most popular types of hammers include claw hammers as well as mallets and ball peenhammers. Each type of hammer has its pros and cons. A claw hammer is best for hitting nails or hard objects. However, it can be difficult to pinpoint exactly where the blow will land. A sledgehammer allows you to hit large areas simultaneously, but it is too heavy and cumbersome to use for small tasks.
Once you have chosen the right hammer for you, put your hand flat against its side so that it rests comfortably in the palm of your hand. Grip the handle firmly, but don't squeeze it so tightly that you hurt yourself. You should hold the hammer straight-up, with your wrist still relaxed. You should then swing the hammer straight up, keeping your wrist relaxed. You should feel the impact of your hammer hitting the nail. Try practicing with a block to help you master the art of swinging a stick.
Hold the hammer near your body until you're ready for the nail to be driven. The nail should be perpendicular to wood's surface. Your eyes should be focused on the nail's tip. Swing the hammer forward, then follow through with the motion of the hammerhead. Repeat this action several times, gradually increasing the speed of the swing. Once you've mastered the technique, try adding power to your swings. Then, raise the hammer from your shoulder to bring it down. You will be able to use more energy and put your best foot forward.
Once you have made the first hole, remove your hammer. The rest of the nails can be pulled out using a screwdriver, pry bar, or a hammer. To prevent splitting the wood, ensure you keep the nail heads flush against the board's surface.