Redbubble offers clothing suitable for woodturning. You will be amazed at the variety of clothing on Redbubble. They have clothes in every size, from small to large. It's even more amazing that they support independent artist! A shirt can be personalized with the picture of your favorite woodturner! Regardless of what you choose, safety is a top priority.
Segmented turning, a method of turning wood into clothing, is an option
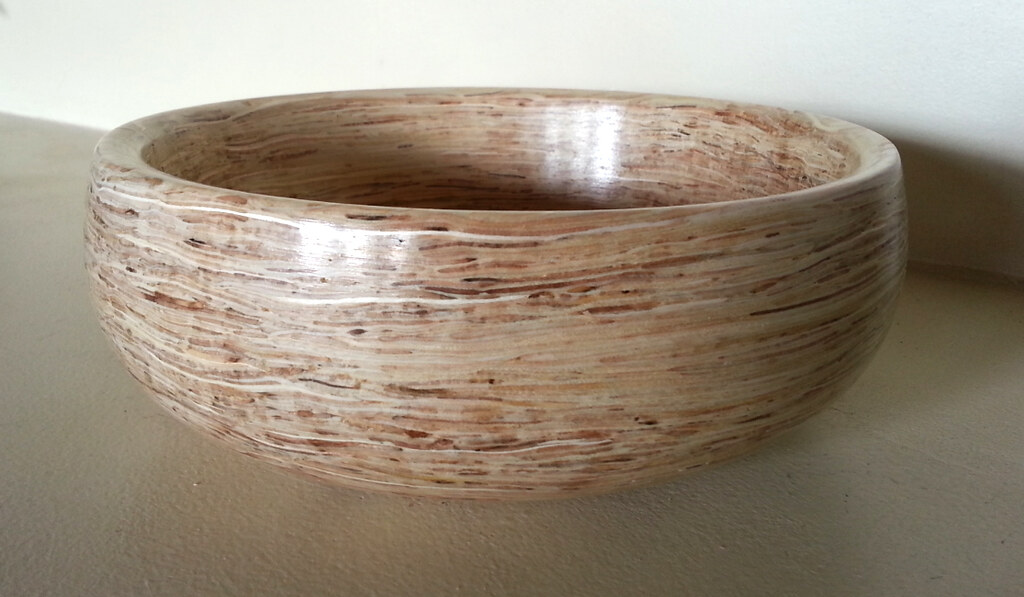
Segmented turning allows you to create pieces that interlock by using segments. The technique is similar to ring construction, except the segments are separated by small gaps. The segments overlap, and successive or consecutive rings are offset in a specified direction. Although it appears fragile, this method is very strong. For woodturners of all levels, it is worth investing in a book that focuses on segmented turns.
This is a highly efficient technique that allows turners make visual effects and patterns using carefully separated segments. This technique requires accuracy, but it doesn't require more advanced skills than basic woodturning. Dennis Keeling, a professional turner, demonstrates basic segmented-turning techniques in this guide. This course teaches you how to accurately use three major areas: construction, machinery, and materials.
To be a successful woodturner, you must wear protective clothing. Avoid wearing loose-fitting clothes or shirts that can catch on the lathe. Avoid jewelry, hanging hair, and long-sleeved tops. Additionally to safety glasses, protective gloves must be worn on your hands and feet. Protective clothing must include protective eyewear.
Safety is a top priority to woodturners
Safety is a key consideration for woodturners as with all other activities. Woodturners must be safe by following a safety procedure. To further increase safety, woodturners should carefully observe others when turning. It is important to hold the tools in a comfortable position. They should touch the tool rest before touching the wood. Woodturners need to switch off their lathe before turning. Before polishing or sanding, they should also take out their tools.
Wearing the appropriate clothing is another essential safety step. Avoid wearing loose-fitting clothes, as these can get caught on the spinning blades. You can minimize your risk of injury by choosing form-fitting clothing. When working in a workshop, eye protection is another top priority. While safety goggles will be sufficient for grinding wood, full-face visors will provide better protection against flying objects.
Workers should be familiar with fire safety and escapes. Safety is vital in any workspace. Even skilled woodworkers may trip or cut themselves if they do not have gloves. You should also not leave a toolbox containing large pieces or wood in it. A spinning machine can become a missile if the wood is left in it. Woodturning insurance is a great way to protect woodworkers against injury.
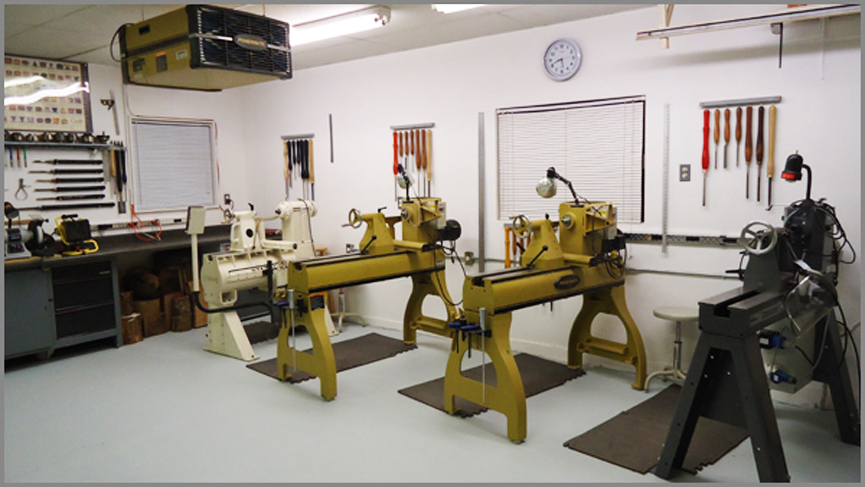
Equipment needed for woodturning
You will need to have a few pieces of equipment before you start woodturning. You will need a lathe as well as eye and hand protection. After use, oil and water stones require extensive cleaning. Oil stones also tend to leave a lot of slime behind, while diamond stones require less maintenance and cleaning. Both types of stone are fairly expensive, so consider the cost of these tools when deciding which to buy.

You can use any kind of wood to turn, though pressure-treated wood is not advisable. Rosewood and cocobolo may irritate some people so it is best to avoid them. You should also wear a respirator to protect your respiratory system from wood dust. Make sure all tools are dry and clean. For woodturning projects, you may also need a respirator to prevent wood dust.
Scrapers are essential for any project. Scrapers can be used to smoothen rough edges. These tools use burrs rather than blades and are available in different grinds. For marks on the outside, a round-nose scraper can be used. For beginning woodturners, a one-inch scraper would be a good choice.
FAQ
How do I choose the right tools for me?
It is important to consider your needs and preferences when shopping for tools. Do you prefer metal handles or plastic? What size of nails and screws do your hands use most? Are you more comfortable using power tools than hand tools?
Do you know anything more about woodworking?
It is easy for people to overlook the work involved in furniture making. Finding the right wood is the hardest part. There are so many options for wood, it can be difficult choosing the right one.
The problem with wood is that not all wood properties are the same. Some woods will warp and others will split or crack. Before purchasing wood, you should consider these factors.
What's the time taken to finish a piece furniture?
It depends on what size piece of furniture you have. You can finish smaller projects, such as boxes or picture frames, in one day. Larger projects like tables and desks take many days. It takes time in order to properly stain or seal the wood.
Statistics
- Overall employment of woodworkers is projected to grow 8 percent from 2020 to 2030, about as fast as the average for all occupations. (bls.gov)
- In 2014, there were just over 237,000 jobs for all woodworkers, with other wood product manufacturing employing 23 percent; wood kitchen cabinets and countertop manufacturing employing 21 percent. (theartcareerproject.com)
- The U.S. Bureau of Labor Statistics (BLS) estimates that the number of jobs for woodworkers will decline by 4% between 2019 and 2029. (indeed.com)
- The best-paid 10 percent make $76,000, while the lowest-paid 10 percent make $34,000. (zippia.com)
External Links
How To
How to stain wood
Stain wood is a process that involves applying chemicals to the surface of wood, which changes its color. This chemical reaction causes the wood to change from white to brownish red. Although oak is the most popular type of wood to stain, there are many other types that can be used.
There are many ways to stain wood surfaces. Some methods include mixing the stain along with a solvent like turpentine and then applying the mixture to the wood by brushing or spraying. Others use a solution made up of water and dye, which is then applied directly onto the wood. The stain can be mixed with paints and varnishes to become part of the final coating.
Preparing your wood for staining is the first thing to do. Cleaning the wood thoroughly removes any dirt or grease that could interfere with applying the stain. Sanding the wood smooths out rough spots and scratches. You must then decide on the type of stain that you wish to use. There are two basic kinds of stains: penetrating stains and non-penetrating stains. Penetrating stains penetrate deeper into the wood than non-penetrating ones, making them ideal for dark colors such as mahogany. Non-penetrating stains work best with light colors like maple.
After you've decided what type of stain to apply, get ready for your tools. A paintbrush works well for applying stains because it allows you to spread the liquid evenly across the surface. You should also have some handy rags to wipe up excess stains after you finish painting. If you plan to mix the stain yourself, make sure you have enough containers available to hold the different components of the mixture.
After you have prepared the materials, you can clean the area where you want to stain the wood. You can remove grime and dirt with warm water and soap. You can wipe down the entire furniture using a damp rag with clean water. Take care to remove all debris and dirt, especially if you are planning on staining darker wood.
The stain should be applied next. Start at one end of the piece of furniture and brush or spray the stain onto the wood. Move slowly and carefully along the grain of your wood until you reach its opposite end. You must be careful not to allow the stain to drip off the wood's edges. Let the stain dry completely before proceeding with the next steps.
A coat of clear polyurethane sealing agent is applied to protect the paint. Apply three coats polyurethane sealer. Allow the third coat of polyurethane sealer to dry overnight before applying the final coat.