This comprehensive book explains the basics of segmented turnings. It also contains examples by some of world's top turners. Keeling also discusses changes in technology and safety issues when working with wood. The book includes 10 projects, which progress in difficulty, as well as a gallery of inspirational segmented designs. While the book aims to teach beginners about the fundamentals of segmented turnings, it is not intended to be a comprehensive resource for those looking to create the finest-looking turniment.
Techniques
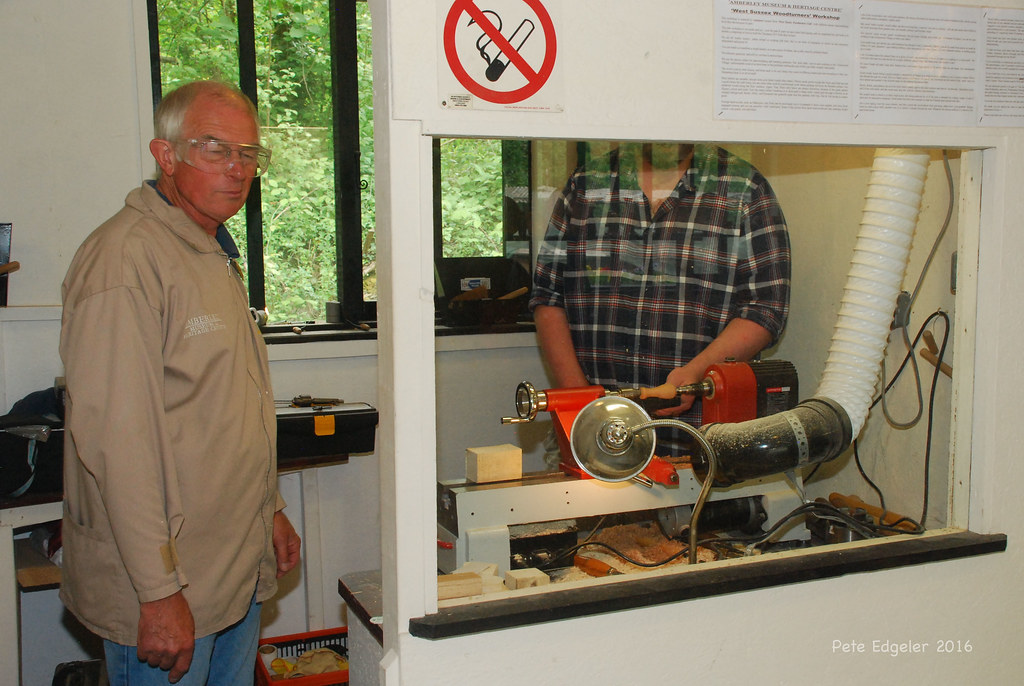
William Smith gives step-by–step instructions for how to turn segmented objects in Techniques for Splitted Wood Turnings. This woodworking technique is great for creating complex vessels that have intricate details. This method is especially suitable to beginners. A basic knowledge of woodworking is necessary before you start. It is a good idea to have some experience with turning. After you have mastered the basics you can move to more advanced techniques.
Materials
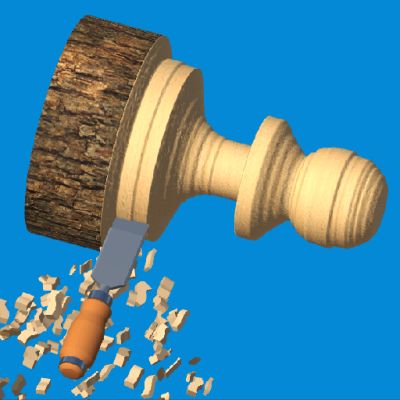
There are many ways to make segmented wood turns. You can use ring, stave, or solid, non-segmented construction to create segmented wood turnings. Because wood expands in a direction perpendicular to the grain, the turner must consider the effects of non-parallel grain directions and take precautions to avoid damage to the piece. This book will help you understand the basics of wood turning and show you how to do it in different styles.
Feature Rings
Many segmented boxes have a unique feature: Feature rings. The zigzag elements are turned on their sides to create a lightning-like design within the ring. The finished turning is sanded to 600 grit and filled with clear lacquer. These ring forms are ideal for decorating your home or gifting. This 120-minute DVD shows you how segmented dishes can be made.
Construction of rings
There are many methods to make rings for segmented timber turnings. Some include a combination stave and ring construction. This technique can also be used for solid non-segmented timber. Wood expands in a direction perpendicular to its grain and moisture content. The shape of the ring can be affected by non-parallel grain directions. This must be considered by the turner when designing the segmented turns.
Stave construction
There are two types of segmented wood-turning: the ring and the stave. Stave is used for certain projects more often than the ring. Both styles are good, but ring construction is easier and more attractive to beginners. This article will show you the differences in ring and stave construction and how to apply them on your next segmented projects.
Solid wood
Precision of miter angles are crucial when turning solid wood segments. Segments can vary in width depending on the size of the ring. PVA wood glue must have the grain of the end grain in order to glue segments together. Pairs of segments may be glued together at once. They can be held together by clamping rings using hose clamps. A miter angle of 22.5 degrees should be used for every eight segments.
Base floating
You should avoid using a flat, or sloping, base for segmented woodturns. A floating base reduces stress on the piece and can prevent it from breaking. A floating base can be made using a half-mortise joint, where a solid disk fits in the gap. This allows the wood to move freely. Floating base are very stable, especially when you use quarter-sawn lumber. You should make a floating base that is less than 6 ins.
FAQ
How can a novice woodworker make it big?
Many people are beginning to learn how build furniture to launch an online business. But if you're just getting started building furniture, there are other ways to earn money besides selling on Etsy. You could also sell at craft fairs, or other local events. Offering workshops could be another option for those who are interested in learning how to build their furniture. Consider offering your services if you have previous experience as a builder or carpenter.
How do I know what tools are best suited for me?
It's important to consider your preferences and needs when buying tools. What do you prefer: metal or plastic handles? What size screws or nails do you prefer? Do you prefer hand tools over power tools?
How can you calculate the woodworking price?
When calculating the costs of any project, it is important to keep them as low and affordable as possible. It is important to ensure that you are getting the best materials prices. You should also consider other factors that could impact the cost of your project, such as experience, skill level, time, and money. If you want to get an idea of what you can expect to spend on different types of woodwork projects, check out our guide to the average price of common household DIY tasks.
Are there any tips for starting a woodworking enterprise?
It takes a lot of effort to start a woodworking business. You won't mind working hard if your hobby is something you love. You'll likely enjoy the challenge of owning your business.
It is important to remember that unexpected problems may arise when you start a new venture. Unexpectedly, money might run out. You might find customers not willing to pay the amount you expected. Preparedness is key to survival in such situations.
One good tip is to set up a separate bank account specifically for your business. You will always know how much money you have coming in.
Statistics
- Average lumber prices rose about 600 percent between April 2020 and May 2021. (familyhandyman.com)
- If your lumber isn't as dry as you would like when you purchase it (over 22% in Glen Huey's opinion…probably over 10-15% in my opinion), then it's a good idea to let it acclimate to your workshop for a couple of weeks. (woodandshop.com)
- The best-paid 10 percent make $76,000, while the lowest-paid 10 percent make $34,000. (zippia.com)
- In 2014, there were just over 237,000 jobs for all woodworkers, with other wood product manufacturing employing 23 percent; wood kitchen cabinets and countertop manufacturing employing 21 percent. (theartcareerproject.com)
External Links
How To
How to stain wooden surfaces
Staining wood refers to applying chemicals to wood's surface. This chemical reaction causes the wood to change in color. This chemical reaction causes the wood to change from white to brownish red. While oak is the most widely used type of wood for staining purposes, other types of wood are also available.
There are many methods to apply stain to wood surfaces. Some methods involve mixing the stain with a solvent (such as turpentine) and then brushing or spraying the mixture onto the wood. Others use a solution made up of water and dye, which is then applied directly onto the wood. It is possible to mix stain into varnishes and paints, making it part of the finishing coat.
Preparing the surface is the most important step in staining wooden surfaces. The wood must be thoroughly cleaned to remove all grease and dirt. Sanding the wood removes scratches and imperfections. Next, you need to decide which stain you want. There are two types of stains that can be used: penetrating and non-penetrating. Penetrating stains penetrate deeper into the wood than non-penetrating ones, making them ideal for dark colors such as mahogany. Non-penetrating oils work best when used with light colors, like maple.
After deciding on the type of stain, you want to apply, prepare your tools. Paintbrushes are great for applying stain because they allow you to evenly spread the liquid across the surface. You should also have some handy rags to wipe up excess stains after you finish painting. You should have enough containers to store the various components of the stain mixture if you intend to mix it yourself.
After you have prepared your materials, clean the area you intend to stain. Clean the area with soap and warm water to get rid of dirt and grime. Use a dampened rag and clean water to wipe the furniture. You should remove any debris, especially if your plan is to stain darker wood.
Apply the stain next. Begin at one end and spray or brush the stain on the wood. You should work slowly and carefully. Continue moving along the grain until you reach your opposite end. Keep the stain from dripping off the wood's surface. Allow the stain to dry completely before you move on to the next step.
A coat of clear polyurethane sealing agent is applied to protect the paint. Apply three coats polyurethane sealer. Let the third coat dry overnight before you sand the final coat.